
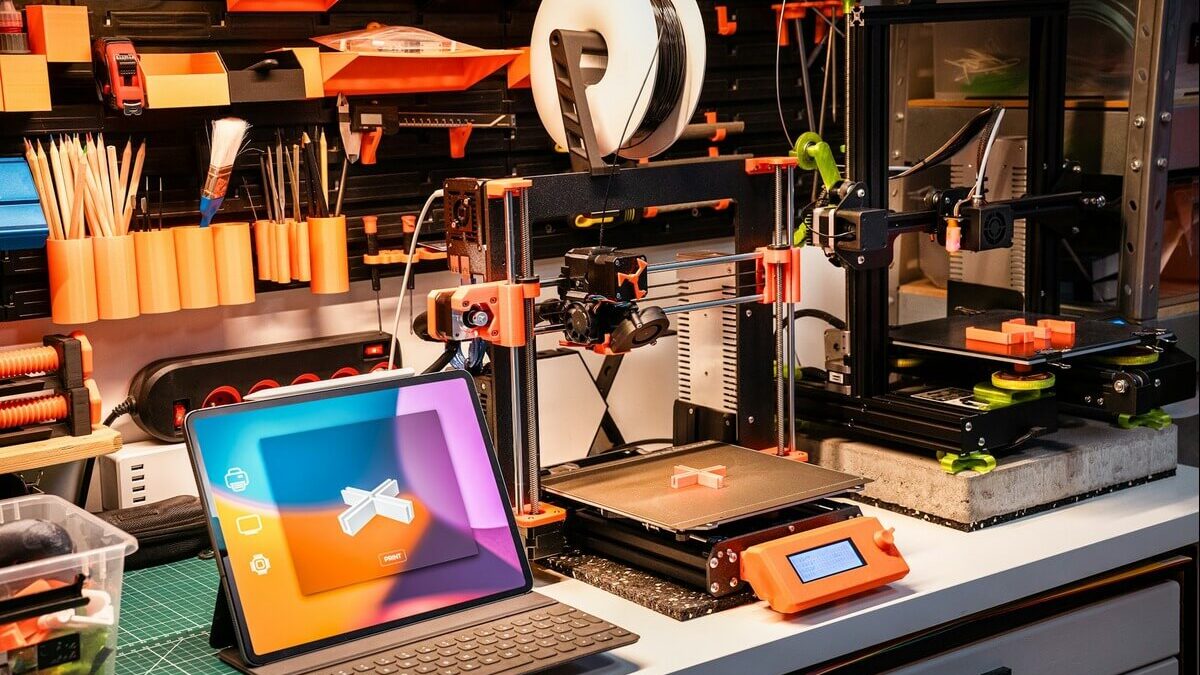

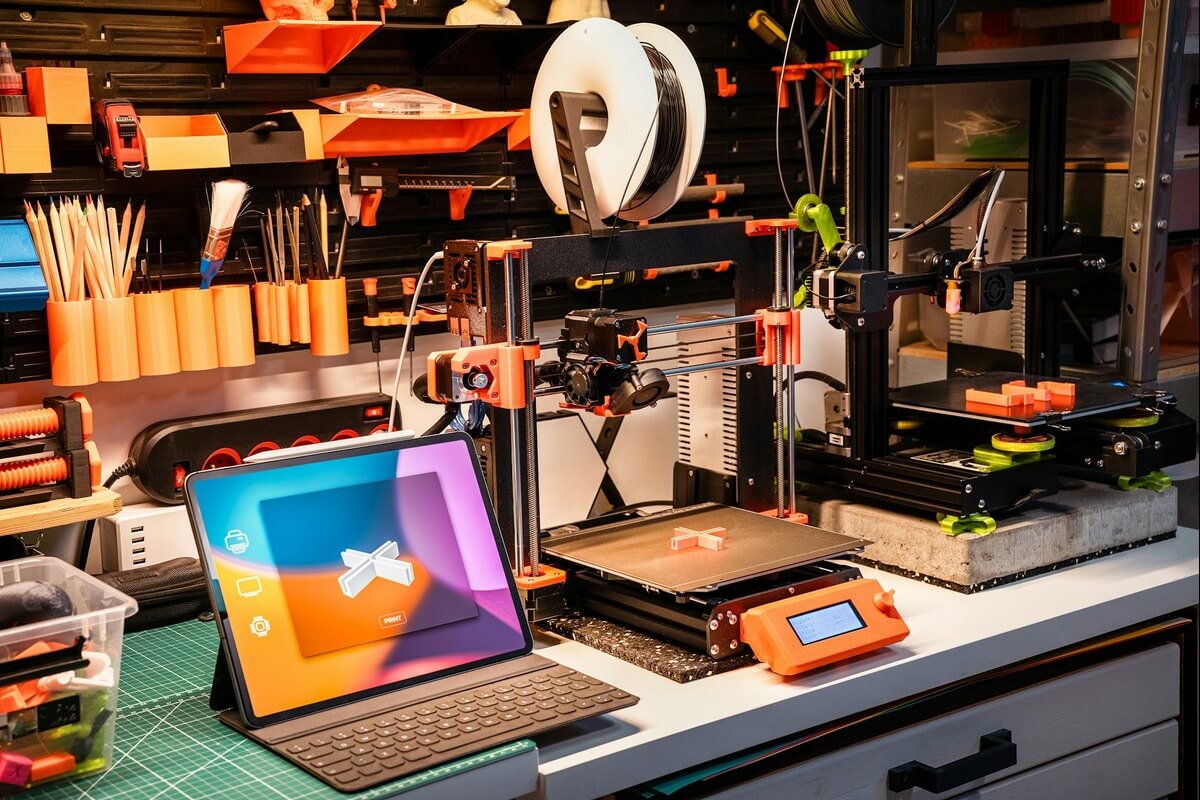
Failed 3D prints usually trace back to a few fixable issues: poor first-layer adhesion, incorrect temperatures, filament trouble, or mechanical misalignment. The clues are often visible in the unfinished part itself. Lifted corners point toward bed adhesion, fine strands suggest excess oozing, and shifted layers may indicate loose hardware. Learning to read these signs can save filament and reduce the time spent repeating prints.
Start With the First Layer
A stable print begins with a clean, level surface and the correct nozzle distance. If the nozzle sits too high, the filament forms rounded lines that barely touch the surface. If it sits too low, material may struggle to leave the nozzle or spread into a thin, rough layer.
Clean the surface according to its manufacturer’s instructions, then run the printer’s leveling routine. A sheet of ordinary paper can help check the gap on manually leveled machines. You should feel light, consistent resistance at several points across the surface. During the first layer, look for lines that touch one another without deep ridges or empty spaces.
Improve Adhesion Without Guesswork
Corners that curl upward can cause dimensional errors and may eventually knock the entire model loose. Start by confirming that the build surface is free from dust, fingerprints, and leftover material. Then check the recommended bed temperature for your filament. A draft from an open window or air vent can cool one side faster than the other, so protect the printer from sudden temperature changes.
A worn, damaged, or unsuitable surface may need replacement. Comparing materials and removal methods can help you choose a dependable 3D printer build plate for your printer and typical projects. Brims can also support narrow parts by increasing their contact area. Use one when printing tall objects, small feet, or models with sharp corners.
Fix Stringing and Messy Surfaces
Stringing appears as fine threads between separate areas of a model. It often occurs when filament continues to ooze while the nozzle travels across an open space. Lower the nozzle temperature in small increments, such as 5 degrees at a time, while staying within the filament maker’s recommended range.
Retraction settings also affect stringing. Run a small retraction test before changing a large model, then adjust retraction distance and speed one setting at a time. Too much retraction can introduce clogs or leave gaps after travel moves.
Moisture may produce rough surfaces, bubbles or faint popping sounds during extrusion. Store opened spools in sealed containers with desiccant. Following filament troubleshooting steps can help you work out whether the problem is caused by moisture, temperature, or retraction settings before making further adjustments.
Address Under-Extrusion and Clogs
Thin walls, visible gaps, and weak layers suggest that the printer isn’t delivering enough material. First, confirm that the spool turns freely and that the filament hasn’t crossed beneath another loop. Inspect the extruder gear for ground filament or debris, since poor grip can interrupt the feed.
Next, heat the nozzle to the appropriate temperature and manually extrude a short length of filament. A clean, steady strand indicates normal flow. A strand that curls sharply or comes out unevenly may signal a partial blockage. Follow the printer maker’s approved cleaning procedure and never force tools into a hot assembly.
Also verify the slicer’s nozzle diameter and filament diameter. A 0.4 mm nozzle paired with an incorrect profile can produce inconsistent flow even when the hardware works properly.
Stop Layer Shifts and Weak Parts
A model with layers displaced sideways usually points to a motion problem. Turn the printer off before checking belts, pulleys, and carriage movement. Belts should feel firm without being excessively tight, while pulleys should remain secure on their motor shafts. Remove any scraps that could block the bed or print head.
High print speeds can also cause skipped steps, especially during abrupt direction changes. Reduce speed and acceleration for tall models or parts with many small details. If layers remain aligned but split apart, raise the nozzle temperature slightly and consider lowering the cooling fan for the first few layers. Orientation matters as well because parts tend to be weaker between layers than along them.
Change One Setting at a Time
Troubleshooting becomes much easier when each test has a clear purpose. Save a known-good slicer profile before experimenting, then change one variable and print a small calibration model. Record the material, nozzle temperature, bed temperature, speed, and retraction values for each attempt.
Keeping your printer, filament, tools, and calibration notes organized can also make testing more consistent. A few practical workshop organization tips can help you create a setup where commonly used tools and materials are easier to find and maintain.
Avoid adjusting temperature, speed, and flow together. If the next print improves, you won’t know which change produced the result. Small test pieces also reveal problems while using only a few grams of filament.
Once a calibration print looks clean, apply the same profile to the full model and watch its first two layers. Those few minutes can prevent hours of printing on a part that was never properly attached or aligned.
Stay connected